Designing public toilet facilities is a vital aspect of creating inclusive, accessible, and functional public spaces. Well-designed facilities contribute to the comfort, dignity, and safety of all users, while also supporting broader goals such as public health, sustainability, and urban liveability.
They are complex undertakings in their own right.
That’s why we’ve outlined 14 essential steps to designing public toilet facilities that meet both practical and community needs.
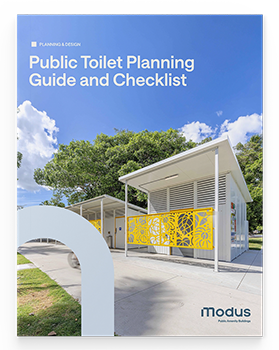
To further support this process, we’ve developed our Public Toilet Planning Guide and Checklist. It highlights key considerations, from accessibility and hygiene to durability and community needs, ensuring these essential facilities meet the highest standards and serve diverse populations effectively.
Whether you are planning a small community restroom or a large urban facility, this guide will help you navigate the design process with confidence and care.
Step 1: Determine your budget and funding requirements
As a project manager or planner your initial task is to get a firm grasp of your budget. The reality is that in local government resources are limited and budget dictates the design, not the other way round.
Asset departments will typically allow a set amount for the toilet building. You might need to supply the department a letter from a reputable supplier/manufacturer like Modus to get things moving. While outside the scope of this document, you might also be able to obtain external funding from state or federal government agencies to supplement your budget.
Step 2: Firm up the procurement process
After firming a budget, you need to establish a procurement process. One might well already exist. Depending on your organisation’s policy — and your budget — you might have options. Large projects often require a tender — asking for responses from more than one organisation and then evaluating them according to their value for money. This can be very time- and resource-intensive. In some instances you may be able to put a Request for Quote (RFQ) to a trusted supplier or partner. This can dramatically shorten timelines.
Step 3: Determine your user numbers
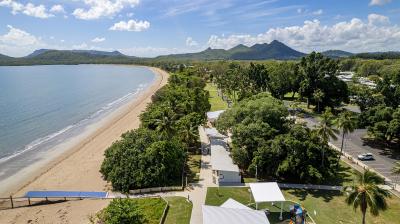
Efficient public toilet design must account for expected user volume and peak usage times to minimise queues and congestion.
Consider the location and anticipated foot traffic when determining the number of stalls, urinals, and sinks. Use data from similar facilities or conduct surveys to estimate usage patterns and adjust accordingly. Consider incorporating waiting areas with seating for high-traffic locations. By focusing on capacity and flow management, you can create a comfortable experience for users while reducing wait times.
Step 4: Consult your community
There is typically a requirement in local government to perform a community consultation on the implementation of new infrastructure (or the upgrade of old infrastructure).
Online platforms, social media channels, and surveys, may all be useful here. If there is, you’ll need to set aside about a month to conclude this process — gathering feedback, sharing ideas (maybe even early plans and renders of the project), and participating in discussions to obtain the thoughts of residents. After that you’ll need to review feedback and decide what to take on board and what to ignore.
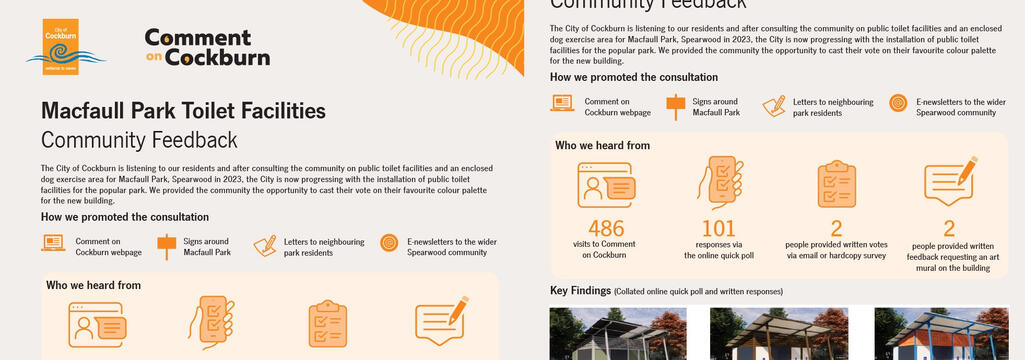
City of Cockburn. (2024). Macfaull Park Public Toilet Facilities - Community Feedback Infographic.
Step 5: Determine site requirements
The builder/installer will be responsible for many things directly related to the construction of the toilet, but there are others that fall outside their scope — and into your area.
In particular, you’ll need to ensure that water, power and sewage lines are all available at the site — or can be brought up to it. If it’s the latter, you’ll need to organise pricing for that. You’ll need to establish location access and discover any concurrent works occurring nearby that might affect your chosen builder’s operations.
You’ll also need to obtain soil and geo-technical reports (typically from an engineering firm specialising in geology) for your builder — they won’t do these for you. They need these reports because different soil types can affect the long-term performance of the concrete pad that is the foundation of your toilet block. Some soil types may additional construction work such as concrete piles to guarantee longevity and safety..
Step 6: Lodge development application with council
A Development Application (DA) is an application for consent carry out development work on a particular location. It is usually made to the local council and has several submission requirements consisting of standard forms, detailed plan drawings and detailed documents. From submission to approval (development consent) this can take 12 weeks or sometimes even longer.
Step 7: Establish your timelines
The amount of time required to complete the toilet facility is a critical question. When do you want it finished by? Sometimes this is determined by financials — when you’ll have the funding for the project, or when that funding might need to be used by. Nail down this finish/opening date, then start working your way back through the critical milestones to develop a reasonably comprehensive procurement timeline for design, consultation, council approvals, manufacture, installation and commissioning.
Step 8: Consider your design aesthetics
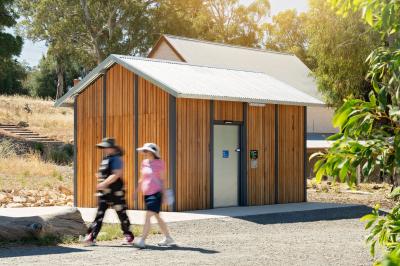
Start thinking about the aesthetic/visual look you want for your toilet block. Aesthetically, the most important thing is to come up with a style that fits the built environment and the location, suits the history of the place yet remains manufacturable (ie: not wildly expensive).
Alignment — where there is a match between architecture, materials, and colours, and the site’s location, surrounds and even the area’s local history — is the key to aesthetic success. Yet it’s important to remain fluid in your ideas — getting too locked-in can make things difficult and increase cost.
Many design considerations come down to the demands of the application and the needs of community. A design consultant can be a real help here — Modus has experienced designers able to assist free of charge.
Step 9: Ensure standards compliance
Public restrooms must comply with all relevant Australian Standards. This includes various design and engineering standards for areas subject to cyclones or floods, and national all Disability Discrimination Act requirements. As a minimum, toilets must comply with the Australian Standards AS 1428 and AS 2890 to ensure that they are accessible to all users.
A reputable supplier will be intimately knowledgeable with the interpretation of these standards — as well as CPTED guidelines to minimise the potential for public vandalism — and conduct ongoing professional development to stay abreast of updates and revisions.
Step 10: Procure your toilet building
At this point, you’re probably ready to provide a purchase order to your supplier/manufacturer through your accounts or finance department. Working with a good supplier who specialises in this area and can perform customised design and manufacture will typically make things go smoother. A builder will have less know-how, placing more responsibility on your shoulders.
Step 11: Monitor the manufacture and install
Communication becomes key at this point. Keep in touch with your supplier to ensure they’re meeting their production milestones at the right points. Good suppliers will proactively keep you apprised of progress. At the same time, you need to be on top of your responsibilities to have the site ready for the install. Site preparation — metered water pipes, power lines, and sewer lines up to 5m from the building bringing should be complete before installation begins.
Step 12: Conduct a post-install handover
Once the install and commissioning is complete, there should be a handover. This allows you to test all functions, complete an audit of the installation, and reassure yourself that everything is in order and that your new facility is ready for public use.
A good, reputable supplier will actively participate in the handover — and, if required — commit to speedily rectify anything if needed
Step 13: Get your team together with the community and stakeholders and celebrate your successful facility.
Get your team together with the community and stakeholders and celebrate your successful facility.
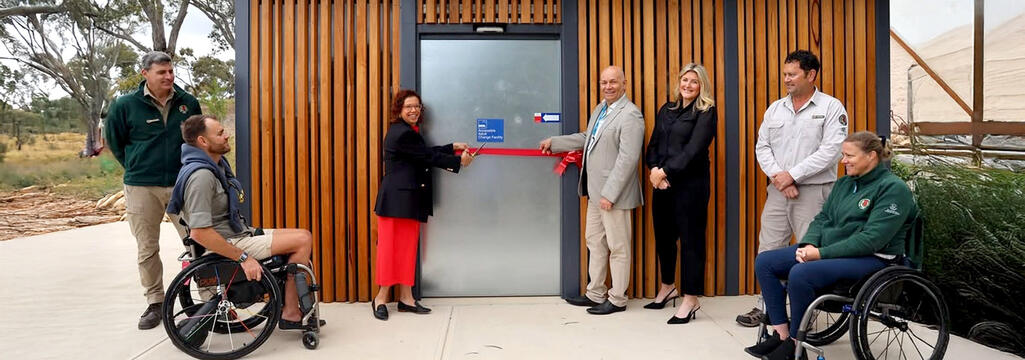
Minister for Social Services Amanda Rishworth, Erin Thompson MP, Mayor of Marion Chris Hanna, Disability Advocate Shane Hryhorec, and the team at Department for Environment and Water at our Changing Places Facility in Glenthorne National Park.
Looking to move your public toilet project forward?
Let’s make your next project a success. Fill out the form below to start the conversation with our experienced team.
View Inspiration Lookbook

